Book Appointment Now

How to Jump Start a Car With a Dead Battery
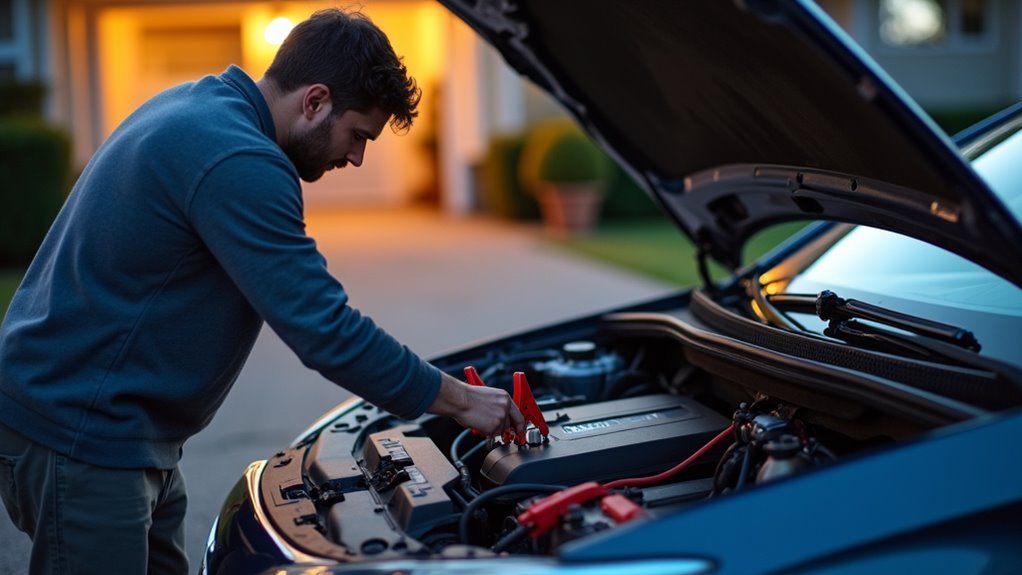
A dead battery can stop a day fast, but a jump start gets your car moving again in minutes. Gather jumper cables and a running vehicle, park both cars with engines off and parking brakes on, and keep metal away from the clamps. Connect the clamps in the correct sequence: positive to positive, then negative to a grounded metal surface on the dead car. Start the donor car, run it for a few minutes, then start the dead car and disconnect clamps in reverse order. Follow safety steps and double-check connections to avoid sparks or damage.
What You Need to Jump-Start a Car
Before you try to jump-start a car, gather everything you need so the job feels calm instead of rushed. You’ll want sturdy jumper cables with clean clamps, or a portable jump starter should you not have a second car nearby. Check that your cables match your battery’s size and that the clamps grip well. A flashlight helps provided the light is poor, and gloves can keep your hands cleaner.
It also helps to know a little about battery chemistry, since cold weather and age can change how a battery acts. Keep your owner’s manual close, too, because some cars use special jump points. Once you prepare these items initially, you give yourself a smoother, safer start and a lot less stress.
Park Both Cars Safely
Pull both cars into a safe spot with enough room for you to work, and keep them close enough that the jumper cables can reach without stretching. You want a calm setup, not a roadside puzzle. Park both vehicles on level ground, set the brakes, and shift into park or neutral. Assuming the surface feels slippery or sloped, place wheel chocks so each car stays steady. Keep the vehicles at a safe distance apart, and make sure they don’t touch.
| Check | Why it helps | What you want |
|---|---|---|
| Space | Lets you move safely | Room to stand |
| Distance | Protects the cars | No contact |
| Wheels | Prevents rolling | Chocks in place |
This little prep helps you feel ready, and that confidence matters when the battery’s already examined your patience.
Connect the Jumper Cables the Right Way
Next, you’ll connect the jumper cables in a set order so you can move power safely from one battery to the other.
Start with the red clamp on the dead battery’s positive terminal, then place the other red clamp on the donor battery’s positive terminal.
After that, put the black clamp on the donor battery’s negative terminal and finish with the last black clamp on a clean metal ground away from the dead battery.
Attach Positive First
Start with the positive connection, and you’ll keep the whole process safer and easier to follow. Check battery polarity so you know which post is positive before you touch a clamp.
Then place one red clamp on the dead battery’s positive terminal and make sure it grips firmly. Next, attach the other red clamp to the donor battery’s positive terminal.
This order supports clamp safety and helps you avoid a mix-up that can make everyone tense. Take your time and keep the cables from dangling near metal parts.
Should the fit feels loose, reposition it until it holds well. You’re doing the right thing through moving carefully, because a clean positive link gives you a steady path for the next connection step.
Ground Negative Last
Now ground the last clamp with care, because this step keeps sparks away from the battery and gives the current a safer path. Choose a bare metal spot on the disabled car’s chassis grounding, not the battery post. You’re helping the charge move cleanly, and you’re keeping yourself and your car crew safe.
| Clamp | Place | Why |
|---|---|---|
| Black | Donor negative | Completes donor side |
| Black | Unpainted metal | avoids sparks |
| Black | Engine block | Better ground |
| Red | Dead positive | Already set |
| Red | Donor positive | Already set |
Press the clamp firm, then check that it won’t slip. Should you hear a pop, step back and recheck your grip. Upon connecting it correctly, you’re setting up the safest path for the jump.
Start the Working Car First
With the cables connected in the right order, you can bring the working car to life initially and let it do the heavy lifting. Turn its ignition on and let the engine settle into a steady idle. That quick step gives your setup a stronger charge flow and helps protect engine health.
Before you go further, do a few safety checks: make sure the clamps stay tight, the cables don’t touch moving parts, and both hoods stay clear. You’re not rushing; you’re setting up your next move with confidence.
In case the donor car sounds rough, stop and recheck everything, because a smooth start matters. Keep the helper vehicle running for a short moment, so the dead battery gets a better lift from a calm, steady source.
Try Starting the Dead Car
Give the dead car a try after the helper engine has settled into a steady rhythm. Sit in the driver’s seat, press the brake, and turn the key or push the start button. Stay calm in case it hesitates. The extra charge might need one more second to reach the starter.
- Check that the shifter is in park or neutral.
- Keep your foot on the brake.
- Turn the ignition once, not over and over.
- Listen for a smooth crank, then hold steady.
- Should it catch, let it idle.
This step fits your safety checklist because you’re moving in a controlled way. In the event the engine turns but doesn’t fire, use starter troubleshooting and look for loose clamps before trying again. You’re not alone here; many drivers need a couple of careful attempts.
What to Do If the Dead Car Still Won’t Start
Provided the dead car still won’t start, check the cable clamps and make sure each one has a clean, tight grip on the right terminal and ground point.
Then wait a few minutes and try again, because some batteries need a little more charge before they’ll wake up.
Provided it still won’t turn over after that, you might require roadside assistance to help you move forward safely.
Check Cable Connections
Check the cable connections initially, because a loose clamp can stop a jump-start cold even although everything else looks right. You’re not alone when this happens. Do a quick visual inspection to start, then touch each clamp to see if it feels secure and sits on clean metal. Should you still get nothing, move on to resistance checking through examining for dirt, rust, or weak contact at the battery posts and ground point.
- Confirm the red clamp grips the positive terminal tightly.
- Confirm the black clamp reaches solid, bare metal.
- Look for oily buildup or corrosion.
- Re-seat any clamp that wobbles.
- Clean off grime before another try.
A firm connection helps current flow, and that small fix often gets your ride back in the family again.
Wait And Retry
In case the dead car still won’t wake up, don’t panic just yet, because a short wait can give the donor battery time to move more charge into the system. Stay with the cables connected, let the working vehicle run a bit longer, and give the dead battery another chance to respond.
You can also check that each clamp still grips metal firmly and hasn’t slipped loose. Then try the key again with a calm hand.
Should it still crank weakly, wait longer before another try, since an extra minute can help in a stubborn case. Keep the donor engine running, and retry later instead of rushing. That small pause often gives you and the battery the surge you both need.
Call Roadside Assistance
Sometimes the safest move is to stop tinkering and call roadside assistance. In case your car still won’t start, you’re not stuck alone. A pro can evaluate the battery, check the starter, and send a tow truck when needed. That saves time and keeps you from draining the battery more. Before you hang up, ask about insurance coverage, because some plans include a jump, tow, or lockout help. While you wait, stay off the road and keep your hazard lights on.
- Share your exact location
- Tell them the car’s make and model
- Mention any warning lights or smells
- Ask how long the wait’ll be
- Stay with the vehicle if it’s safe
Disconnect the Jumper Cables Safely
Now that your car has power again, it’s time to peel the cables off in the right order so you don’t create a spark or short anything out. Keep calm and move like a crew that knows the drill. Remove the black clamp from the grounded metal initially, then the black clamp from the donor battery. Next, take off the red clamp from the donor battery, and finish with the red clamp on your battery. Keep each clamp from touching another metal part. Should you be doing spring cleaning, this is a good moment for clamp storage, so coil the cables neatly and tuck them away. | Step | Order | Why |
| — | — | — |
|---|---|---|
| 1 | Black from ground | Cuts risk |
| 2 | Black from donor | Safer next |
| 3 | Red from donor | Keeps flow |
| 4 | Red from dead | Final touch |
Let the Battery Recharge
Let the revived car run for at least 15 to 20 minutes so the battery can start building power again.
Should you be able, drive it for 15 to 30 minutes instead of just idling, because the alternator usually recharges it better on the road.
Give it this time now, and you’ll lower the chance of facing another dead start right away.
Charge Time Needed
After the engine catches, give the battery time to recover before you shut anything off. You want the charging system to work on the battery recovery now, and a short run helps that happen.
For peak charging, keep the engine running at least 15 to 20 minutes. In case you can, stay parked and let it idle, but know that a longer, gentle drive usually helps more.
- Keep lights and extras off
- Don’t turn the engine off prematurely
- Watch for weak cranking
- Give the alternator time to work
- Plan for another start later
Should your car feel shaky, that’s normal after a jump. Give it a calm window to rebuild power, and you’ll help the next start go smoother.
Drive To Recharge
A short drive can do more for your battery than sitting in the driveway, especially once the engine has already started with a jump.
You’ve already done the hard part, so give the alternator time to work. Aim for 15 to 30 minutes of driving, and mix in some road speed in case you can.
Stop-and-go traffic helps less than long distance driving, because steady engine time lets the battery take in more charge.
Turn off extra lights, chargers, and the fan to reduce strain. Should you be able, choose a safe route that keeps you moving without quick stops.
This kind of battery maintenance gives you a better shot at restarting later. Should the car acts weak again soon, don’t ignore it. You might need a new battery or a check of the charging system.
How to Avoid a Dead Car Battery
Most of the time, a dead battery starts with small habits, and that means you can often stop the problem before it leaves you stranded.
You’re part of a crew that can keep things simple: do regular maintenance, clean the terminals, and check for loose cables.
In case you park for long stretches, consider battery storage in a cool, dry place, or use a maintainer.
- Turn off lights before you leave.
- Unplug chargers and accessories.
- Drive often to keep charge up.
- Check the battery case for cracks.
- Assess the battery before cold weather.
Also, listen for slow starts and act promptly.
Small warning signs matter, and you don’t need a big repair bill to stay ready.
With a few steady habits, you’ll give your car a better chance every day.
When to Call for Roadside Help
Grasping the right time to call for roadside help can save you time, stress, and a lot of guesswork. Should your battery case looks swollen, cracked, or leaking, stop there and get help fast. You should also call whenever jump-start attempts fail after you check the clamps and connections.
Should the car starts but dies again soon, that points to a deeper issue, and a quick battery inspection can spare you more trouble. Whenever you’re far from home, in bad weather, or parked in a risky spot, roadside support keeps you safe and on track. They can give you tow options, jump-start service, or advice on the next step. That way, you’re not stuck speculating what to do next, and you can get back to your day with less worry.
Frequently Asked Questions
Can a Jump Starter Pack Replace Another Car?
Yes, a jump starter pack can replace another car provided you match battery compatibility and have enough portable power. You’ll gain a solo, safer increase, so you’re not stranded needing help from someone else.
Is Push-Starting Safe for Automatic Transmissions?
No, you shouldn’t push-start an automatic; it can cause transmission damage. Don’t risk push starting risks—better safe than sorry. You’ll belong with drivers who protect their cars and use a jump starter or roadside help instead.
Should the Jumper Cables Touch While Connected?
No, you shouldn’t let the cables touch while connected. That’s basic cable safety. Follow the connection order carefully, keep clamps apart, and you will protect yourself, your car, and the people helping you.
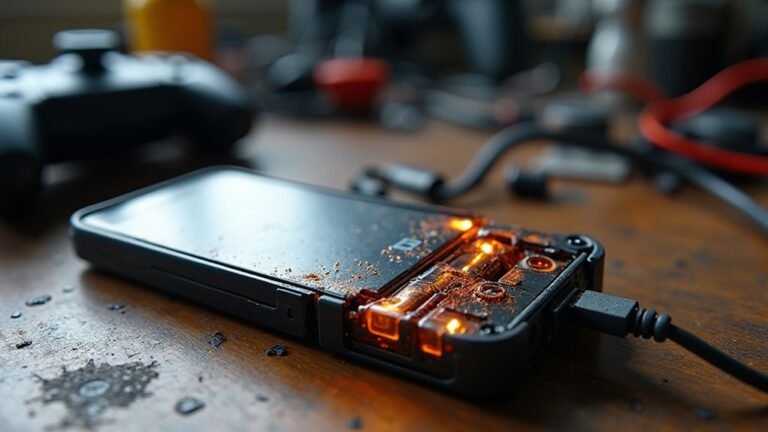
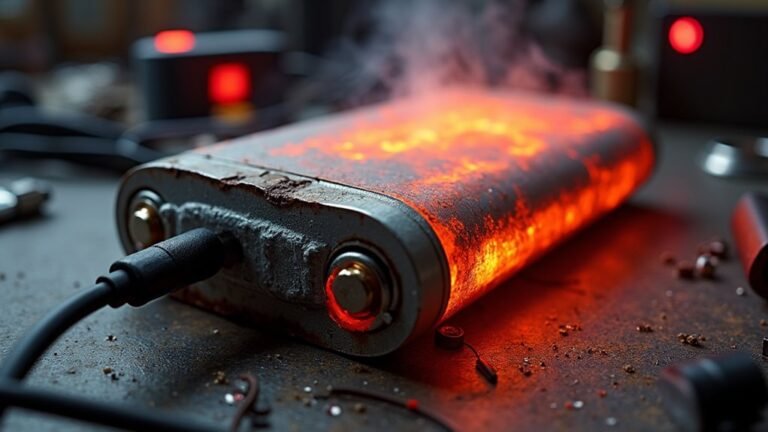
What if the Battery Case Looks Damaged or Swollen?
A swollen battery is a warning flare, and case corrosion signals danger. You should not jump start it. Step back, avoid sparks, and call roadside help or a mechanic so you stay safe.
How Long Should I Drive After a Successful Jump Start?
Drive for 15 to 30 minutes so the alternator can recharge the battery and check itself under load. This gives your car a better chance to recover and keeps you moving.